

Three stops, three completely different problems. Þingvellir asks you to photograph a landscape so vast it flattens into nothing. Strokkur gives you about two seconds of warning. Gullfoss will soak your front element while you are still deciding which lens to use. Add weather that changes its mind every twenty minutes, and you have the Golden Circle: one of the most photographed day routes in Iceland, and one of the easiest to come home from with a card full of flat grey snapshots. What follows is a checklist for each stop, and a way of working when the light refuses to cooperate.
Start with the wind and the daylight
Wind decides whether Strokkur's steam drifts sideways or straight into your lens, and it is the reason car doors get wrenched out of hands in the car park at Gullfoss. Look at the Icelandic weather and road information sites on the morning you set off, and treat any forecast more than a few hours old as a rumour.
Light behaves differently depending on the season. In June the sun barely sets, so late evening and early morning give you soft, low light and a car park with three other people in it. In December you may have only a handful of useful daylight hours, which means the order of your stops matters more than your settings.
Grey overcast is not a disaster. It is often the easiest light for waterfalls and moss, because the contrast stays within reach. Harsh midday sun is harder: blown-out white water, black cliffs, rainbows flickering in and out of the spray. If the sky clears, expose for the highlights and let the shadows fall where they like.
Þingvellir: making scale legible
At Þingvellir the subject is the gap between two tectonic plates, and gaps are hard to photograph without something to measure them against. Walk down into Almannagjá, the gorge that runs along the western edge of the plain, and use the path as a leading line. Get low, put the cliff wall on one side of the frame, and let the walkway carry the eye inwards. A person in the middle distance, wearing something that is not grey, does more for the picture than any amount of careful framing.
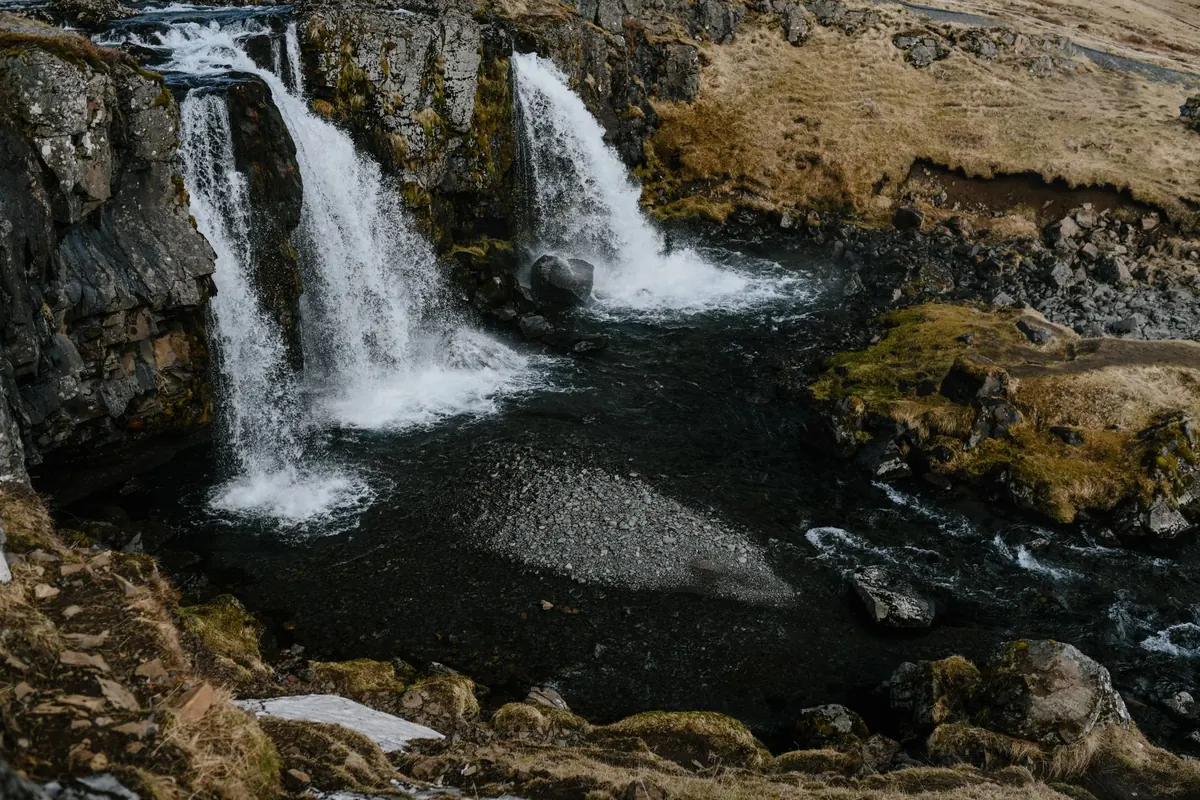
Öxarárfoss, the small waterfall a short walk up the gorge, is a good place to practise shutter speeds. A quarter of a second keeps some texture in the falling water; two seconds turns it to milk. The rocks around the pool are wet and often icy, so plant your feet before you start fiddling with a tripod.
Then cross the plain to the viewing platforms above Þingvallavatn. A telephoto does more here than a wide lens, compressing the lake, the lava field and the mountains into layers. A polariser helps with wet rock and moss, but use it deliberately: it will also kill the reflections in still water.
Geysir and Strokkur: reading the water
Strokkur erupts every few minutes, which sounds generous until you realise the eruption is over almost before you have reacted. The trick is to stop watching through the viewfinder. Stand back, watch the water, and learn the tell: a blue dome swells over the vent just before the column goes. That dome is your cue to start a burst and keep it running.
Set up before the cue arrives. Pre-focus on the vent, switch to continuous shooting, and pick a shutter speed that suits the picture you want. Around 1/1000sec or faster freezes individual droplets; something much slower on a tripod smears the steam into soft shapes. Portrait orientation often suits the column better, because it is tall and thin.
Wind decides where you stand. Put yourself upwind so the steam blows away from you. Downwind, you will be shooting through a grey curtain and wiping your lens every thirty seconds.
Geysir itself is quiet most of the time, but the pale blue pool and the evidence of old eruptions are worth a frame, particularly with a low sun catching the steam. Keep a microfibre cloth in a pocket, and do not change lenses in the open here. Silica dust and steam are a poor combination, and a wet sensor is an expensive mistake.
Gullfoss: spray, rainbows and two viewpoints
Gullfoss is two drops in a right-angled turn on the Hvítá river, and there are two main viewpoints. The upper path gives you the whole folded shape of the falls and is the more reliable shot. The lower path takes you close enough to fill the frame with water and feel the spray on your face, but it can be closed when the path is icy, so check before you commit to the walk down.
Shutter speed is the main decision. A fast shutter, 1/500sec and up, freezes the water into hard bright fragments. A tripod and a slow shutter, with a polariser or a neutral density filter, give the smooth, drawn-out look most people picture when they think of Iceland. Both work. Pick one and commit rather than flipping between them.
If the sun is behind you and the wind is throwing spray into the air, look for rainbows. They appear and vanish within seconds, so watch the mist rather than the falls.
Spray on the front element is unavoidable. Blow the worst of it off first, then wipe gently with a clean cloth. Wiping grit across glass is how a good day ends with a scratched filter.
The shot-by-shot checklist
Work through these in order for a complete set, or choose the two you care about at each stop and give them proper attention.
Þingvellir
- Almannagjá from the path: wide, low, with a person for scale.
- Öxarárfoss from the rocks beside the pool: polariser on, two shutter speeds tried.
- Þingvallavatn from the viewing platform: telephoto, layering lake, lava and mountain.
Haukadalur: Geysir and Strokkur
- The dormant Geysir pool: reflections, low angle, steam against dark rock.
- Strokkur's swelling dome, caught on burst mode just before the eruption.
- The full column, portrait orientation, 1/1000sec or faster.
Gullfoss
- The upper path: the whole two-tier falls with the canyon walls framing it.
- The lower path: close, wet and loud, with a rainbow if the light allows.
And one more, wherever you find it: horses by a fence, a turf-roofed church, a lone road sign in a lava field. The best photograph of the day is often not taken at one of the three landmarks.
What to carry, and how to keep it working
- A rain cover, or a plastic bag and an elastic band. Rain arrives sideways here.
- Two microfibre cloths, one for glass and one for everything else, plus a blower.
- A polariser and a small neutral density filter; between them they cover most of what the waterfalls ask for.
- Spare batteries kept inside your jacket. Cold drains them faster than you expect.
- Waterproof trousers and gloves, because you will kneel or crouch on wet ground at some point.
- A tripod that can cope with wind, or a willingness to brace the camera against a fence.
Making the day work
Give the three stops a full day rather than half of one, and avoid arriving at all of them at midday with everyone else. If you are driving yourself, start early, put Gullfoss first or last, and leave room for unplanned stops. The light between the landmarks is often better than the light at them.
Pull fully off the road before you stop for a photograph, and take care with car doors in high wind. Check road and weather conditions before setting out, particularly in winter, and be honest about how comfortable you are driving on gravel or through a squall.
Then be patient. Conditions change quickly, and a shower that ruins one frame usually hands you another: wet black lava, steam lit from behind, a rainbow over the canyon. Wait ten minutes. Photograph the weather, not the postcard.
Photo: Julia Volk / Pexels
Related posts
More stories you’ll love reading